>Gnomon – Boujou – Matchmoving and Integration
技巧備忘錄:
Point:
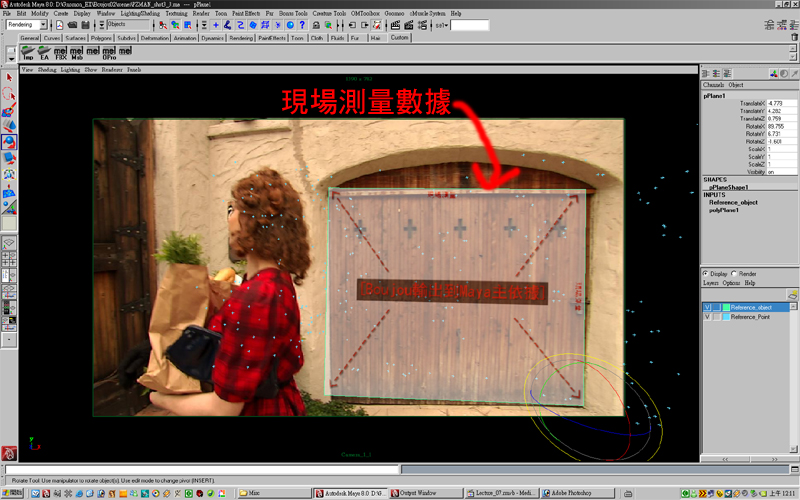
現場測量:
在Maya中精準對位微關鍵

CCD(中文說明書叫攝像管)尺寸算法:
1英吋=W:12.8mm,H:9.6mm=對角線16mm
1/4英吋=12.8/4mm,9.6/4mm
1/4英吋=3.2mm,2.4mm
JVC GR-DF550:
1/4.英吋5=2.8444 mm2.1333 mm
相關資料:
Chapters:
01: Image Setup and Proxy Sequences
(輸入圖片和建立低解析度替代圖片來節省記憶體的技巧)
02: Poly Masking
(製作動態物體的遮罩來加快計算和減少錯誤的技巧)
03: Camera Lens Setup: Distortion
(設定你的DV攝影CCD和景深功能還有鏡頭的透視修正技巧)
04: Feature Tracking
(追蹤攝影機移動)
05: Camera Tracking and Planar Constraints
(設定打出來在同個面的點將她們都約束在同個平面上)
06: Auto Lens Distortion
(unknow)
07: Scene Orientation and Maya Evaluation
(快速定義追蹤的平面)
08: Distortion Pipeline
(Boujou3.1的輸出各項資料流程大詳解)
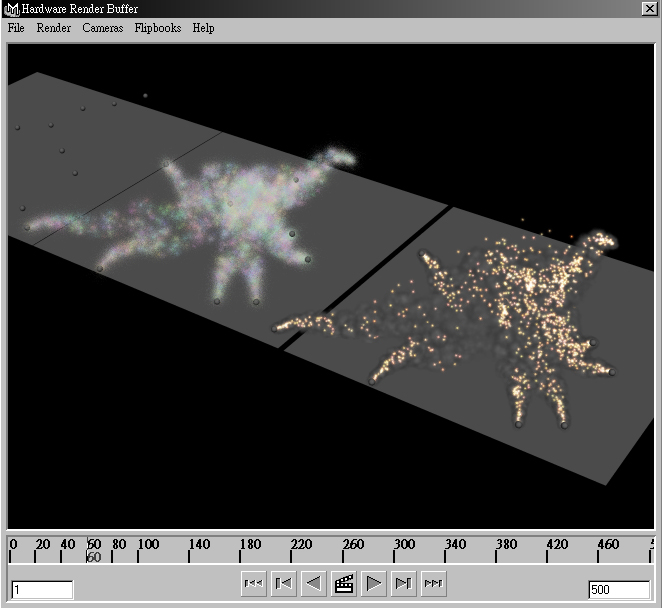
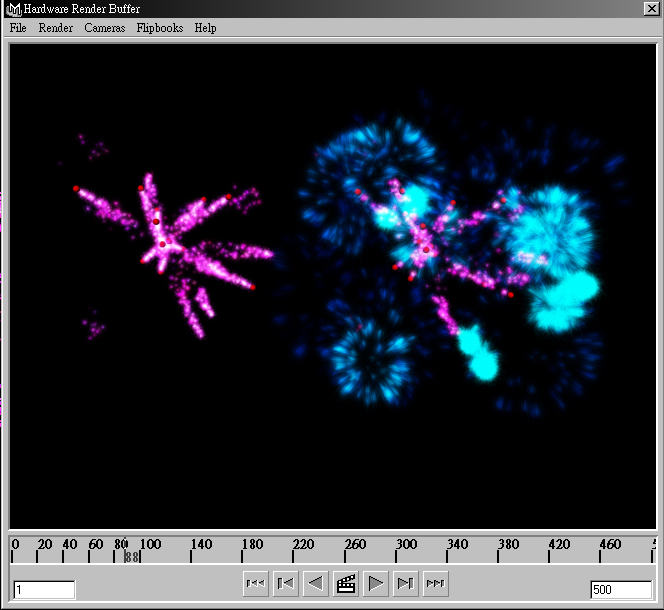
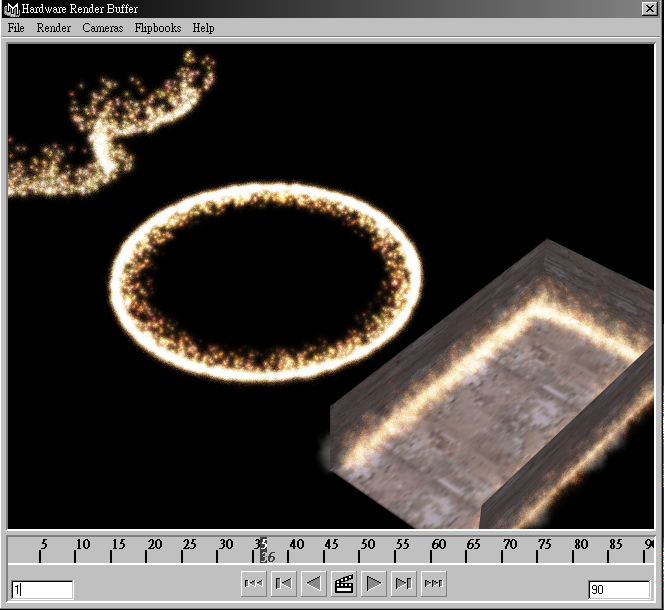
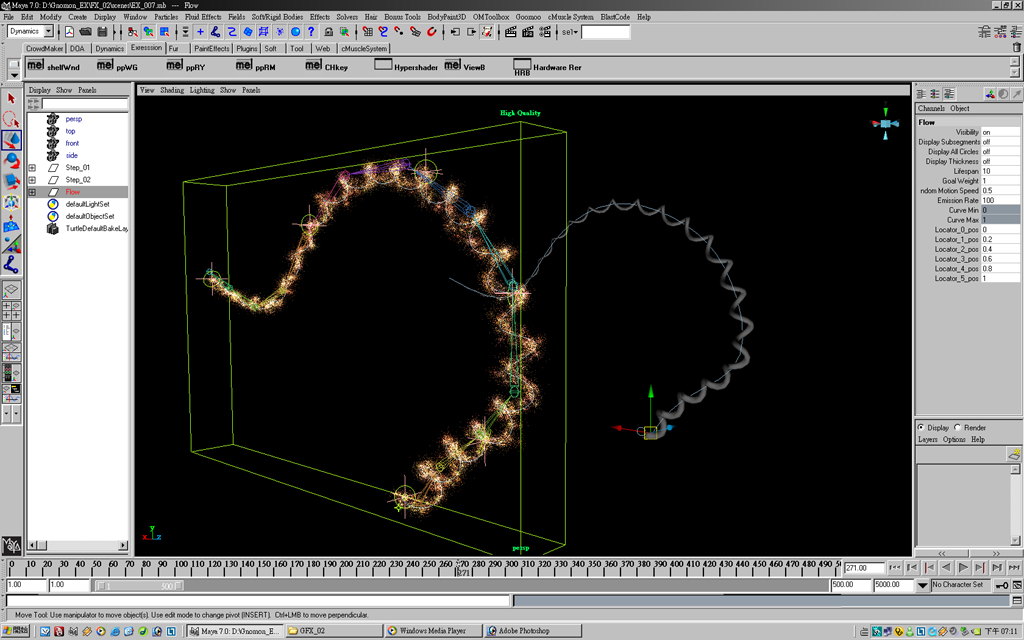
09: Sprite Particle Setup
(Maya的特效製作)
10: Shake Composite
(使用後至軟體將作好的東西丟入做合成和調色)

